The Art of Packing Up Your Holiday Sparkle
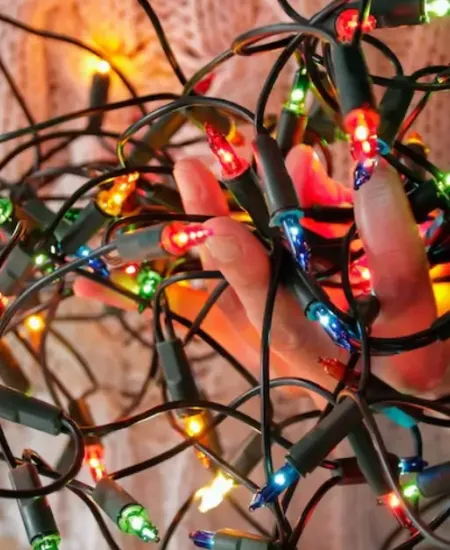
Taking down the Christmas lights is one of those tasks that most of us dread. It feels like no matter how carefully you packed them away last year, they always come out tangled, dim, or, worst of all, broken. Let’s be real: I used to think the holiday spirits themselves were out to get me every December when I'd pull out what resembled more a bird’s nest than a string of lights. So, over the years, and after one too many 'light disasters', I figured out some tricks to take down those twinkling beauties without tangling or breaking them. Here’s my tale – and guide – brimming with firsthand experience, learned-the-hard-way wisdom, and practical tips.
Before You Start: Setting the Scene
First things first, choose a good time and setting. It can be tempting to rip everything down in a post-New Year’s Day clean-up frenzy, but a rushed job often leads to more tangles and breakages. Pick a clear, calm day and make sure you have plenty of space. I learned this the hard way after many years of desperately trying to untangle lights on a cramped, cluttered dining room table. Here’s what to keep in mind:
- Clear Space: Make sure you have a large, flat area like a dining table or a clean floor covered with a soft blanket to lay out the lights.
- Proper Tools: Scissors for cutting old ties, labels for marking, and sturdy storage containers ready. If you wish to make the takedown easier from the start, consider using zip ties and hooks when first installing your lights.
- Helping Hands: If you can recruit a family member or friend, do it. One person can hold and organize while the other carefully removes the lights.
Step by Step: The Takedown
Now, the real challenge begins. Here’s a step-by-step guide to taking down your lights – the right way.
Gently Does It
The first rule of light removal? Gentle does it. As much as you might want to rip everything off in one go, patience is key. Start from one end and slowly work your way around, detaching the lights with care. If they're clipped to anything, use your fingers or a screwdriver to loosen them gently, but avoid yanking. One year I decided to pull a little too enthusiastically, and let’s just say a piece of my gutter came off with the lights. Lesson learned!
Label as You Go
As you remove the lights, label them based on where you had them hung. I use simple tags with notes like ‘Front porch - upper railing’ or ‘Living room window’. This eliminates the guesswork next year and saves a ton of time when redecorating.
Check for Damage
As you take each string down, check for any bulbs that are out or any visible wire damage. It's easier to replace these now than discover them next year. If you wish to be thorough during setup too, don’t miss this guide on how to test your lights before installation.
Pack Like a Pro
No More Tangles
One of the reasons we face a daunting mass of tangled wires each year is poor storage methods. I learned a neat trick from a friend that has since been a game changer. Use sturdy cardboard pieces cut into rectangles, each big enough to wrap a strand of lights around. Secure the ends with tape, and not only are your lights neatly organized, but they’re also prevented from tangling. (realsimple.com)
Soft Storage
Use soft tissue paper or bubble wrap to separate each wrapped string of lights in your storage box. It might seem like overkill, but it prevents the bulbs from knocking against each other and potentially breaking. And trust me, come next December, you'll be patting yourself on the back for this extra step. (southernliving.com)
Proper Sealing
Don’t just stack them back into the attic or garage. Seal the storage box tightly to prevent any moisture from getting in and damaging the lights. I found out the hard way that boxes in the attic can get damp and what that moisture can do to your lights. Not pretty. (bhg.com)
The Final Check
Before you store your lights away, do one last check. Ensure all bulbs are fixed correctly and that each set is labeled. Snap a photo of how you've packed everything into your storage box; it’ll serve as a quick reference for next year (and yes, it helps you remember which box has the lights if you’re like me and you forget where everything goes!). (publicstorage.com)
A Festive Wrap-Up
While taking down the Christmas lights might not be as thrilling as putting them up, it doesn’t have to be dreadful. With the right techniques and a little patience, you can ensure your lights remain in perfect shape, ready to bring the festive glow back into your home year after year. Remember, a little effort now saves a ton of hassle later—and maybe even a few holiday curses! If you wish to avoid setup mishaps in the first place, check out these tips on avoiding common mistakes.
So next year, when you find yourself smiling rather than wincing as you unbox those twinkling lights, you’ll know that all the careful packing was well worth it.
Here’s to keeping the holiday spirit (and our lights) shining bright!
Subscribe to our email newsletter and unlock access to members-only content and exclusive updates.

Comments