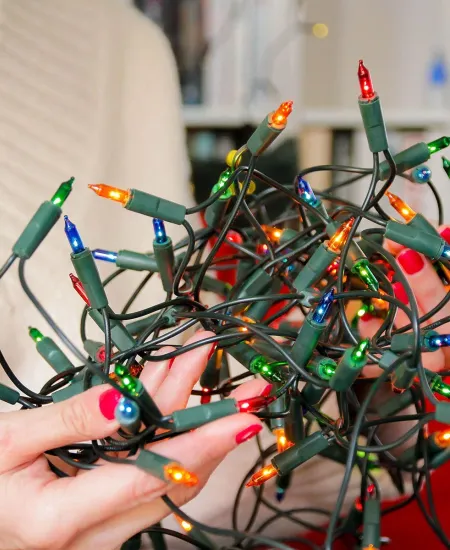
Why Testing Your Christmas Lights is a Bright Idea Before the Final Hang-Up
Every year, as the festive season approaches, I get all excited about decking the halls with strands of sparkling Christmas lights. But, if there’s one thing I’ve learned (the hard way, mind you), it’s that testing these twinkling beauties before final installation isn’t just a good step—it’s essential. Picture this: you spend hours on a ladder, meticulously placing each bulb around your living room, only to plug them in and... nothing. Half the string is darker than my burnt Christmas cookies. So, let’s save that frustration and go through why and how to test your lights effectively.
The Why: Unpacking the Importance of Light Testing
Before diving into the nitty-gritty of testing, let’s chat about why this step is so crucial. First off, it’s about avoiding the heartbreak of defective lights. Trust me, finding out after all the installation effort is as disappointing as a soggy gingerbread house. Plus, it’s safer. Faulty wires and malfunctioning bulbs can be more than just inconvenient—they could be hazardous. By checking everything in advance, we’re ensuring a joyous and safe holiday setup. (thisoldhouse.com)
Prevent Puzzling Light-Out Situations
Imagine you've created the perfect Christmas ambiance, only for a significant section of your lights to flicker off. Testing helps identify any erratic behaviors before they ruin your display.
Safety First and Foremost
Electrical malfunctions can lead to bigger issues than just aesthetic disappointment. By testing each set of lights, you're essentially doing a quick safety check, reducing the risks of electrical fires or shorts. If your display includes motion-enhanced lights, this is doubly important.
Getting Started: What You’ll Need
Before we roll up our sleeves and get into the test-itself, let's talk gear. Thankfully, you don't need much:
- A good-quality light tester: This handy little device can save you tons of time. It's designed to quickly identify problems in your lights, whether it's a faulty bulb or a pesky wiring issue.
- Replacement bulbs: Always have these on hand. Nothing's more annoying than finding a dead bulb and not having a replacement ready.
- Replacement fuses: Some string lights have fuses in the plugs. These can blow out and will need replacing.
- Batteries: If your lights are battery-operated, make sure you have fresh batteries for testing.
Now that we’ve got our toolkit ready, let’s dive into the actual testing process.
The Testing Process: Step-By-Step
Alright, here's where the magic happens—or, at least, where we make sure the magic will happen when your guests arrive. Here’s a step-by-step guide to ensure your lights are ready to shine. (angi.com)
Step 1: Unroll and Inspect
First things first: unroll your strings of lights carefully. Check for any visible damage: broken bulbs, frayed wires, or anything that looks questionable. Any visible damage could be a sign to either fix or replace the string altogether. If you're working with older decorations, consider repurposing lights that no longer work for main displays.
Step 2: The First Plug-In
Once you're sure there’s no visible damage, plug your lights in. Yes, even before using the tester. This gives you a quick overview. If there’s a large section not lighting up, you know where to start with your detailed testing.
Step 3: Detailed Check
Take your light tester and begin from one end of the string. Test each bulb, ensuring each one lights up correctly. If your tester shows a bulb is okay but it’s still not lighting up, it might be a socket issue, so give that a look as well. (tips.acehardware.com)
Step 4: Replace and Repair
As you identify problematic bulbs, replace them immediately. If there are issues with the sockets themselves, you might need to decide whether you want to attempt a repair or replace the set. If you're upgrading anyway, you could explore creative alternatives like a DIY lighted star or LED rope snowflake.
Step 5: Final Review and Safety Check
Once you’ve replaced all necessary components, give your lights one final test. This is also a good time to double-check that everything is secure. Ensure all bulbs are tightly screwed in and no wires are pinched or strained.
The Light at the End of the Strand
Testing your Christmas lights might seem like an extra step in an already busy season. But believe me, when your entire house or tree glows flawlessly, and safely, during your holiday parties, it feels incredibly worth it. And hey, this testing thing isn’t just cautionary—it’s a great excuse to start feeling festive early!
Remember, Christmas is about sparkle and joy. With everything tested and twinkling, you’re all set to light up your season without a hitch. Here’s to a bright, cheerful, and glitch-free holiday display. Now, get those cookies out of the oven (hopefully less burnt than mine), pour yourself a cup of eggnog, and soak in the beautiful glow of your perfectly tested Christmas lights!
Subscribe to our email newsletter and unlock access to members-only content and exclusive updates.

Comments