Lighting Up the Holidays: Installing Outdoor Lights on Different Home Exteriors
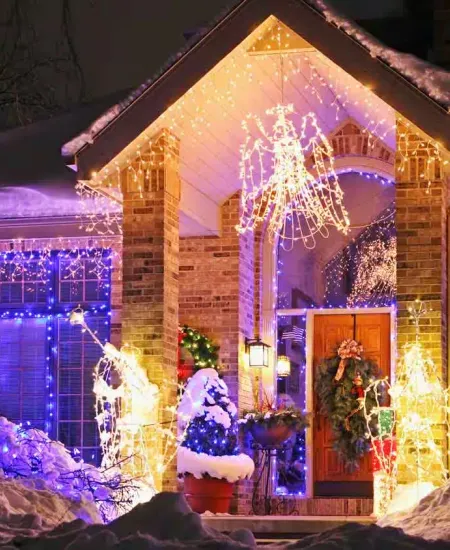
The holidays aren’t just about the twinkle inside your home; it’s about bringing some of that magic outdoors too. Whether you’re aiming to create a welcoming path with lights along your driveway or a festive display that makes your home stand out, installing outdoor lights can make all the difference. But, when you’re dealing with diverse materials like brick, stucco, or vinyl siding, things can get tricky. I’ve gone through it myself—last year’s holiday spirits were almost dimmed by my battle with a stubborn stucco exterior!
Let’s walk through some essential tips and tricks for installing outdoor lights on these surfaces—without the frustration I faced. Here’s what you need to know:
Understanding Your Materials: Brick, Stucco, and Vinyl Siding
Before you start drilling or hammering away, it’s important to understand the material you’re working with. Each has its own quirks:
- Brick: Durable and hard, but drilling into it requires specific tools.
- Stucco: A bit delicate, with an outer layer that can crack if not handled carefully.
- Vinyl Siding: Relatively easy to deal with but can be damaged by excessive weight or pressure.
Knowing these will help you approach your installation with the right tools and techniques—saving you a lot of headaches and holiday blues! If you’re decorating windows and doors as well, consider no-drill methods to protect trim and siding.
Tools and Materials: Gathering What You Need
I remember the cold evening I spent under the twinkling stars—except the stars were actually the flashlight on my phone since I had forgotten to bring out proper lighting. Don’t be like me! Make sure you have all the necessary tools and materials ready before you start:
- Drill with appropriate drill bits (masonry bit for brick, etc.)
- Hammer
- Ladder
- Light clips or hangers suitable for your siding
- Safety goggles and gloves
- Measuring tape
- Level (to ensure your lights hang straight)
- Outdoor-rated light strands (LEDs are great for lower energy use and longer life)
Right, with these at hand, you’re ready to tackle that installation without any late-night hardware store runs!
Installation Guide for Each Type of Siding
Brick: Secure and Sophisticated
Installing lights on brick can seem daunting because you’re dealing with such a hard material. Last year, I underwent this challenge and learned that patience is key. Here’s the most efficient way to handle brick:
- Choose the right spot for the light, ideally in the mortar joint, as it’s softer than the brick and easier to repair if you make a mistake.
- Use a masonry bit to drill holes, and be sure not to push too hard to avoid damaging the brick.
- Opt for clips designed for brick. These can often clip directly onto the brick without needing to drill holes, depending on the style.
Stucco: Handle With Care
Stucco can be a bit tricky because it’s prone to cracking. When I first tried to install lights on my cousin’s stucco house, we ended up with a few unintended ‘decorations’ (cracks!). To avoid this:
- Using adhesive hooks designed for outdoor use can save your stucco facade. Make sure they are rated for the weight of the lights.
- If you must drill, use a masonry bit and do so during warmer weather as stucco is less likely to crack then.
- Consider using a wire hanger that involves minimal invasiveness—this can be hung over the roof edge or under window ledges.
Vinyl Siding: Easy Does It
Vinyl siding is the least daunting of the three. It’s forgiving and doesn’t require you to drill or hammer directly into it. I learned this the easy way after dealing with brick and stucco:
- Use siding clips that slide between the siding panels. These can support your lights without any need for permanent changes to the siding.
- Avoid heavy decorations that might pull on the siding and lead to sagging or damage. (stackexchange.com)
Final Touches and Maintenance
Once your lights are up, step back and adjust as needed. Make sure they’re evenly spaced and securely attached. And remember, outdoor light installations need more than just a one-time check; inspect them regularly throughout the season, especially after bad weather. Last year, a quick check saved me from a half-lit house when one of the strands started to come loose after a particularly windy night! For best results, test your lights before installation and plan your layout to avoid last-minute surprises.
No matter the material you’re working with, setting up outdoor lights can significantly enhance your home’s holiday aesthetic. With the right tools and a bit of know-how, you can create a holiday display that’s both safe and stunning. Don't shy away from tackling those challenging materials—once the lights are gleaming, the satisfaction is unbeatable.
Here’s to a bright and joyous holiday season filled with warmth and light—both inside and outside your home!
Subscribe to our email newsletter and unlock access to members-only content and exclusive updates.
Comments