Getting Started with Hanging Lights Along Your Roofline
The holiday season is here again, and if there's one thing that truly lights up the festive spirit—quite literally—it's the sight of twinkling lights along rooflines. Having tried my hand at this task several times, there’s a blend of art and safety in hanging lights that can make or break your home's holiday vibe. Let’s dive into a comprehensive guide that I promise will make your home the highlight of the neighborhood!
The Right Tools for the Job
Before we leap into stringing lights, let’s talk about what you’ll need. I learned the hard way that trying to hang lights without the right tools is like trying to bake a cake without a pan — just a mess!
- Ladder: Ensure it’s sturdy and tall enough to comfortably reach your eaves. Here's a helpful guide on ladder safety.
- Light Clips: These are life-savers. Choose clips that are specifically designed for the type of lights and roofline you have. Check out tips for using light clips. (ableroof.com)
- Measuring Tape: For measuring the length of the roofline where you’ll hang the lights.
- Gloves: To protect your hands from any sharp edges or possible electric shocks.
- Light Strings: Ensure they are suitable for outdoor use and check if they're functioning properly before starting.
Here’s a tip: lay out all your equipment before you start. There’s nothing more annoying than getting halfway up a ladder and realizing you’ve forgotten something!
Measure and Prepare
Every good project starts with good preparation, and hanging lights is no exception. Measure your roofline to determine how many strings of lights you'll need. Remember, accuracy here will save you from mid-project hardware store runs. If you want a deeper dive, here’s a great resource on planning your layout. (realsimple.com)
While measuring, also plan where each strand will go. This is crucial because once you're on the ladder, you want the process to be as smooth as possible. I like to mark spots gently with a chalk; it helps keep my alignment straight and is a guide for clip placements.
Safety First
I can't stress this enough: your safety is paramount. The first year I decided to turn our home into a winter wonderland, I nearly took a tumble from an unsteady ladder. Before you get started, make sure you’re familiar with how to install exterior lights safely. Make sure the ladder is on stable ground and ideally have a buddy to stabilize the ladder as you climb up and down. Also, check weather reports — trying to hang lights in windy or wet conditions is a recipe for disaster.
Hanging the Lights
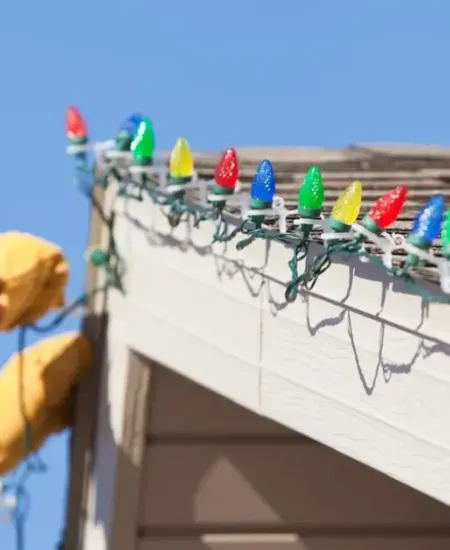
Now, the fun part — or the tricky part, depending on how you look at it. Start at the farthest point from your power source to avoid having excess cords where they shouldn’t be. Attach the light clips on the roofline first before hanging the lights. This makes the process less cumbersome since you’re not trying to balance strings of lights while also securing clips. (christmasdesigners.com)
With the clips in place, gently lay the string lights into the clips. It’s a bit like setting a table: you want everything to lay flat and even. After securing the lights, step back and check the arrangement from the street. It’s easier to adjust now than after you’ve moved the ladder away.
Another tip: Plug the lights in only after all strands are securely mounted and all adjustments are done. This way, you avoid the lights tangling or getting pulled too taunt while working with them.
Finishing Touches
Once your lights are up and tested (because we definitely need to check that all lights are glowing warmly), it’s time for the finishing touches. If you have spare bulbs, replace any that are not working right away. Also, hide or neatly arrange any extension cords used. Safety and aesthetics should go hand in hand.
A personal touch I love adding is a simple homemade wreath at the front door. It brings everything together and welcomes guests with your personal stamp.
Enjoy Your Sparkling Achievement
Stand back and admire your work! Grab a hot cocoa, play some holiday tunes, and bask in the glow of your beautifully lit home. Every time I complete this project, I feel a huge sense of accomplishment—there’s nothing like adding a bit of sparkle to the season.
If you follow these steps, not only will you ensure a safe and cheerful holiday setup, but you'll also enjoy the process itself. Remember, the goal here is not just to hang lights, but to create memories and bring joy to everyone who sees your effort, including yourself!
So, go ahead, give it a try, and turn your home into a festive sanctuary that lights up not just physically but also kindles the holiday spirit in everyone’s heart. Happy decorating!
Subscribe to our email newsletter and unlock access to members-only content and exclusive updates.
Comments